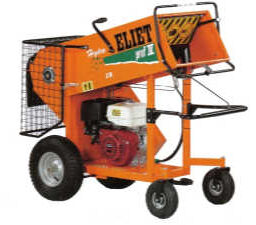
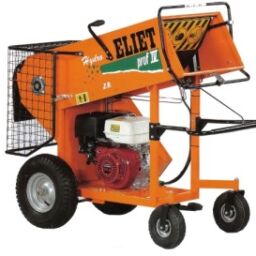
As we tell our kids, there is no such thing as free… right? But we think making your own mulch by recycling trees, broken limbs, and debris in your yard is just about as close to free as you can get! Mulch can be used to prevent weed growth, adds nutrients, conserves moisture, and regulates the temperature in your soil. It will also enhance the beauty of your plant beds and natural areas by giving them a consistent, uniform look. Making your own mulch will keep yard waste that would normally go into a landfill in your yard.
Hear what one customer had to say about renting a wood chipper/shredder to create their own mulch:
“WOW!!! The price was great and the equipment operated to perfection! We had a yard full of tree limbs and branches and we ended up with beautiful mulch that would have cost us MORE than the rental if we had to pay for it!!! Ed was totally accommodating and made the rental so easy and when I needed some instruction on the job site, Tony was there in twenty minutes to get me going! THANK YOU TONY… what a GREAT guy!!! I’ll be back!!!”
Let’s Get Mulching!
- Northside Tool Rental offers a few different chippers for distinct needs. Be sure to take these size and other variations into consideration by reading our article, Primary Considerations When Renting A Chipper or Chipper/Shredder.
- For finer mulch, shovel the wood chips back into the chipper for a second grinding.
- You can mix in grass clipping and chopped leaves from your yard for a more nutritious mulch.
- Homemade wood chip mulch will start out as a light color, however it will darken over time.
- Always keep a safe distance and wear safety glasses and work gloves at all times.
- Slowly feed in small amounts at a time to prevent jams. And always turn off the machine before clearing a jam.
Still have questions? The rental experts at Northside Tool Rental have the availability, the knowledge and the willingness to answer all your equipment questions!


